Categories
PowerCLI Virtualization Vmware

Getting past Certificate issue in Power CLI

So I recently started working more with PowerCLI. After my time at VMWorld 2019 (which I will cover in another post) I realized how powerful that PowerCLI actually is (pun not intended). In starting to work with PowerCLI I came across the following message whil: trying to connect to my vCenter

Connect-vIServer : xx-x-xxxx xx:xx:xx Connect-VIServer Error: Invalid server certificate. Use Set-PowerCLIConfiguration to set the value for the InvalidCertificateAction option to Prompt if you’d like to connect once or to add a permanent exception for this server.

I did some googling and I found this article,so shout out to Ivo Beerens for his article.

https://www.ivobeerens.nl/2018/07/18/quick-tip-powercli-invalid-server-certificate-error/

In his article he goes on to share this command

Set-PowerCLIConfiguration -InvalidCertificateAction Ignore -Confirm:$false

After putting that into PowerShell and pressing enter you will no longer get the Invalid Certificate message.

I hope you found this post helpful, I will be posting about some of the scripts that I have been posting on my Github. Please share with your friends if you found this helpful. 

I didn’t know this was even possible…. SSL Certificate weirdness

 So I was working on the post about how to resolve the SSL Certificate error message that you get if you do not have the Root certificate for the ESXi host installed on your machine. Well in the process of taking screen shots for that post I discovered something that I have never seen before.  Rather than starting from the beginning, lets pick up at the end of the last post.

So right after you finish installing the Root CA on your machine, you have closed out of your web browser and reopened it and go to the URL and you get this message.

On first glance it looks like the certificate install failed, but it didn’t, Upon closer inspection of the message you will see that there is an issue with the CN is invalid. 
For those who do not know CN means Common Name which is usually the FQDN or Host name of the server. So I went back to check the CN of the Certificate of the ESXi host and I found what you see below.  This is where things get crazy….

So according to the image above, the SAN or Subject Alternate Name (AKA a list of CN’s, usually up to 5 on one Certificate) is an IP Address!!! How the heck is it an IP address? 
So what I tried next was typing in https://172.26.96.44 in my web browser and I was immediately presented with the image below. 


So wait, it worked like it should using the IP address instead of the name. How did that certificate get issues at all.

WELL….. It would appear that one of my co-workers added this host to vCenter with the IP address instead of the name.

Needless to say I am very disappointed in my Co-Worker for not following our naming convention.  But if I had to guess it looks like VMCA (VMWare Certificate Authority) which is included in the PSC (Platform Services Controller) and issues Certificate to hosts when they are added to vCenter must have issues the certificate to the IP address because he added it using the IP. Having dealt with several different Certificate Authorities in my time, this is crazy to see. 
Anyway this is just a heads up just encase you run into something like this in your travels. 

How to get rid of Certificate Errors on ESXi hosts

Recently I have been spending a lot of time on the VMware Community forums just reading posts and helping out where I can. One of the threads that I helped out with had to do with how you can get rid of the pesky SSL Certificate error message you get every time connect to an ESXi host. 
To resolve this issue you will need to add the Root Certificate for the ESXi host (the Certificate of the server who issued the certificate for the ESXi host) into the Trusted Certificate Authority Folder on your machine. 
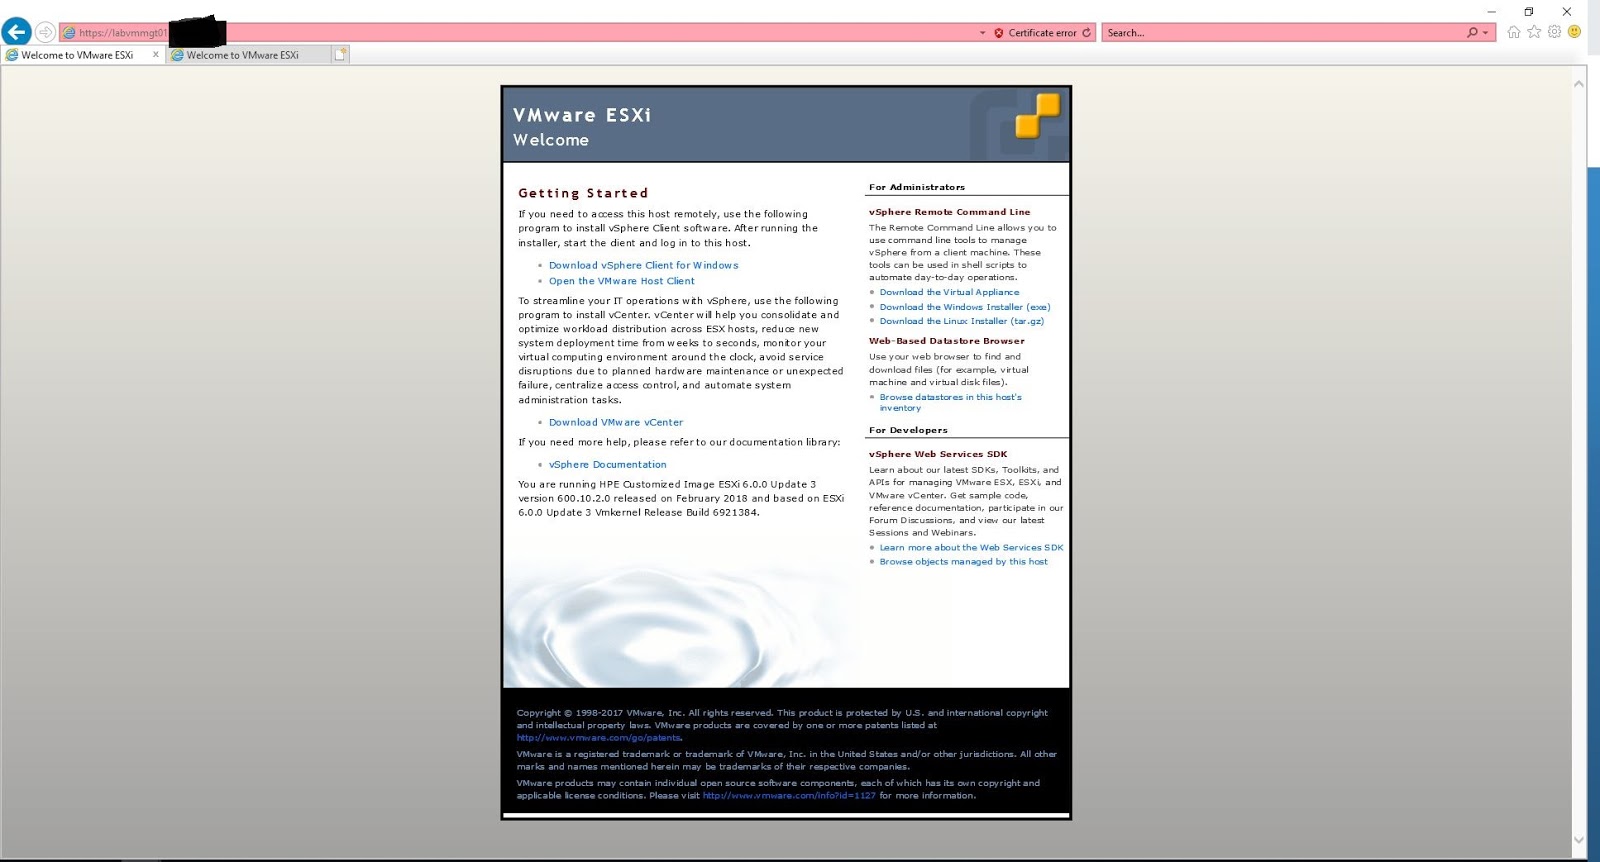
To start you need to go to the web page for the ESXi host 
You will notice a few thing, first of all, I used an ESXi 6.0 host that I had in my lab and secondly you will see the RED background color in the address bar. You will need to click on the Certificate Error message as seen in the next picture.
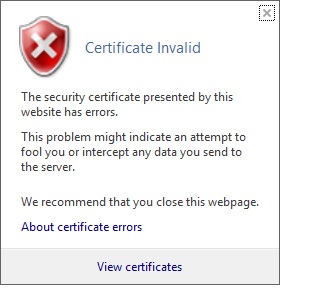
From there you will get this pop up message
Click on View certificates to see the Client Certificate which is assigned to the host. You will then this the Certificate popup.

You will need to click on Certificate Path to see the CA

From here you will see all the Certificates in the Chain, in this case there are only 2

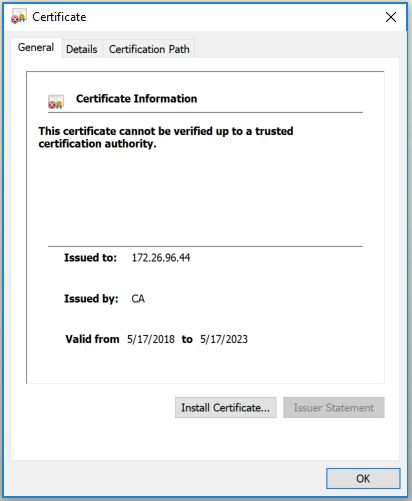
Click on the root certificate ( the one on the top of the chain) and click the View Certificates button to be able to see the certificate attributes. 

A new Certificate window will open and you can click the Install Certificate Button to install it on your machine

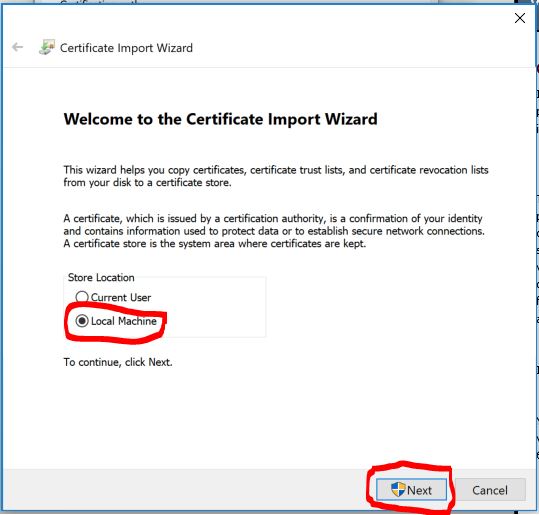
This will open the Certificate Import Wizard.

You will need to click the Local Machine radio button and click next.

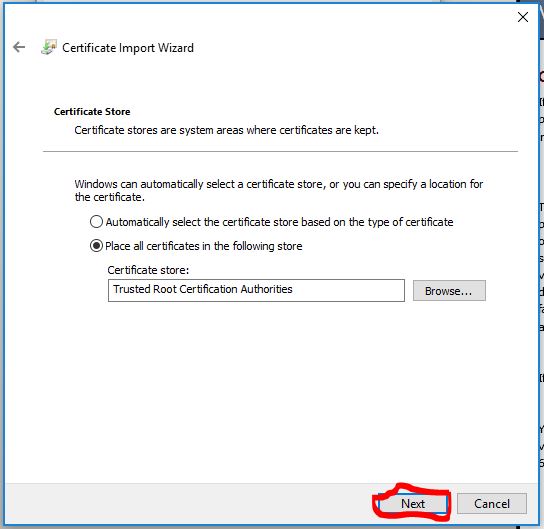
Select the Place all certificates in the following store

 Click the Browse button to select where the certificate should be saved.

Select Trusted Root Certification Authorities and click OK

Click Next to Continue

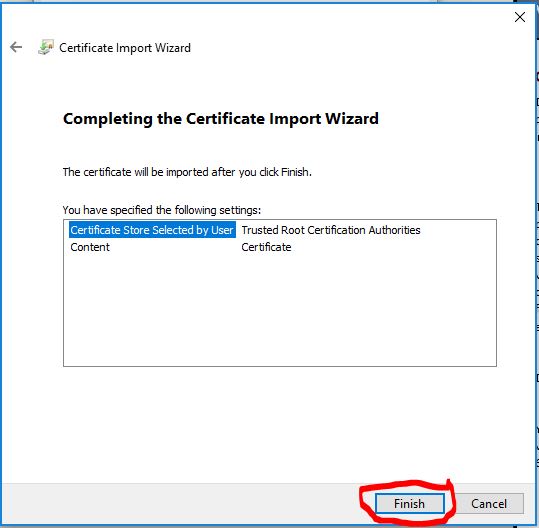
Click Finish to exit the Wizard

You will then get this pop-up message, click OK to continue.

Click OK again

and click OK one more time

 Then close out your Web Browser, reopen it and go back to the web page and you will no longer have red bar going across the screen.

 I hope you find this helpful, I have a few more articles in the pipeline and I am working on getting out soon.

SSL Certificate Template not showing up on Active Directory Certificate Services web page

In a previous Post I mentioned an issue that I had with a Certificate template on my Internal Enterprise CA not showing up when I tried to request a certificate.

After doing some digging I discovered that I had it set the template to “Build from this Active Directory information” when it should have been “Supply in the request” to make it show up in the list. 
So what you need to do is open the Certificate Template Console on your CA, and double click on the template that you need to have show up. Go to the “Subject Name” tab you will see this

Select Supply in the request and click OK.
If the template is already being served on your CA you will need to Delete it from the Certificate Template folder and re-add it in the same folder.