Clients are not receiving emails from Exchange

So I had a client call in today and say that they are not receiving emails. That is as descriptive as it gets sometimes, so the first thing I did was check their Mail Gateway which caches email if their Exchange server is not running. So I looked and there is nothing in the queues, so that tells me that things are making it’s way to Exchange.

I then go and open the Exchange Management Shell which will tell me really quickly if the problem is what I think it is. So I fire it up and here is what I get

Note: If you try to open the web console you may have similar issues.

Having seen this message before with this particular client I know now that I have a time sync issue on my hands.

The First thing I look at is the time on the Exchange server.

Then I check the time on one of the Domain Controllers which is the PDC Emulator.

Then I check one of the other Domain Controllers and I find this.

As you can see the time difference is greater than 5 minutes which will cause your Exchange Server to be very unhappy.

Once you fix the time issue you can then try to reopen the Exchange Management Shell and you will see that you can connect without an issue.

Let me know if this was helpful by leaving a comment below.

thank you

VMWare Virtual Machine will not Start in vCenter

So I was asked by a client to do up “hardware upgrades” on one of their virtual machines. This VM is not production and is not running anything at the moment, but will soon become an SQL Server running an application. So I went and powered off the VM, logged into the C# vSphere client (they are running vSphere 6.0), and doubled the memory as requested by the client.

After making the change I went to power on the VM and I get presented with this pop up error message from VMWare

The message itself seems pretty generic but I have actually seen this one before. This error has to do with  an issue with the management agents on  your ESXi host.

I followed the instructions found on this KB article but it did not resolve my issue. I also found this KB article which might yield better results but as this whole environment is production, I will need to wait to test that.

WORK AROUND:

In order to get this VM powered back online, I needed to log directly into the virtual host and power on the machine.

The VM powered on with no issues.

I hope you find this helpful and I will update this when I have a solution.

Windows Update cannot currently check for updates because the service is not running

I recently ran into an issue where a client of mine had a issue with Windows Update failing to run. It gave the end user a pop up error message that looks like this:

Once you click okay you will then see this on the Window’s Update screen. Clicking Check for updates will result in the same message. 
I did some googling and found that if I Stop the Windows Update service and then delete or rename C:WindowsSoftwareDistribution and then restart the service you would then be able to run Windows update. However this did not work. 
I then found a Microsoft Support KB article KB3102810 which will allow you to download an update which will resolve the issue. After the update is installed you will need to stop the Windows Update Service again, delete or rename the Software Distribution folder and restart the machine. Once it comes back up you can then click Check for Update and after about an hour (because it now has to rebuild it’s update catalog)  you will get a similar screen to what you will see below. 
Hope you find this helpful with your Windows update issues. 

My VCAP 6.5 Journey Begins!

Today at work I got the approval from my boss to schedule training to upgrade my VMware VCP 6.5 to the VCAP 6.5.
I am so excited that I can hardly sleep. Although my training does not start until September I plan on going full force at this before the class even starts. I am seen several blogs online and I will be reading them all to prepare.
I look forward to detailing my journey here so please stay tuned.

Airwatch on a Mac 003 – The rebuild

So when it comes to the world of Mac’s and Apple products in general I tend to steer clear of them as much as possible.
In my company however we have a few Mac users and supporting them can be challenging at times. That being said and after bricking this device on my first trip around the block, I got a pretty good view of how to reload the OS from the internet. For documentation purposes I ended up bricking the Macbook again just to see if I got the same results. You can find that post here.

After the wipe completed the Macbook reboots and you are presented with this Lock Screen. This is to prevent unwanted access if the device is lost or stolen. 

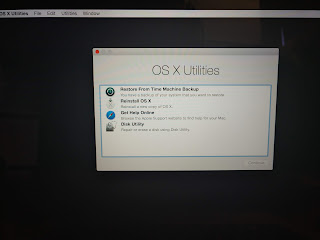
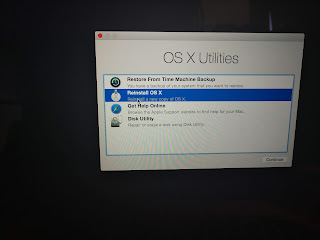
Type in the 6 digit pin number and click the arrow next to the last box to unlock the machine. You are then presented with the OS X Utilities screen.
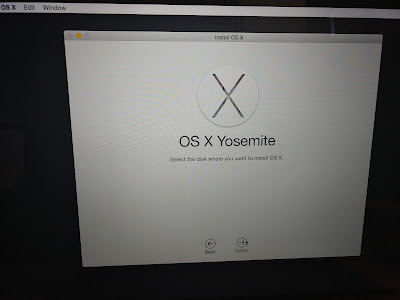
From here you have the option to restore from Time Machine Backup, Reinstall the OS, Get device help or go into disk utilities. I can tell you from personal experience, at this point if you go into reinstall OS you will find that the disk is not available as seen below. 
 you will need to Shut down the laptop, and restart it back up into recovery mode. 
  
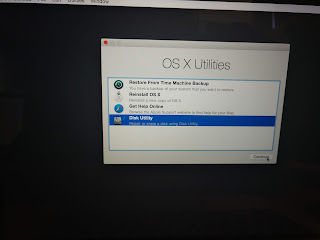
From here you will want to select disk utilities and click continue.
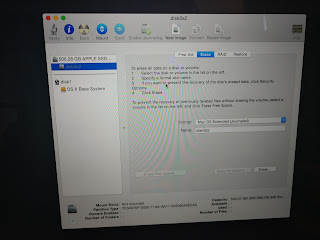
Once the Disk Utilities loads up you will see that the Drive is there and there is a volume available, however if you select the volume you cannot do anything with it. the options to inspect is are grayed out.  You will need to go to the Erase tab to continue.

On the Erase tab you have the ability to rename the volume, select the new formatting and then click Erase. After the volume has been reformatted you can then go back to the First Aid Tab.

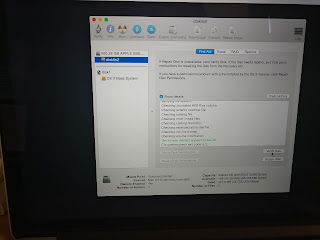
you will see that the option to verify disk has been enabled and if you run it you will see something like this.

As long as you get this then I would say you are safe to proceed. Click the close button in the upper left hand side (looks like a red circle) and this will bring you back to the OS X Utilities Screen.

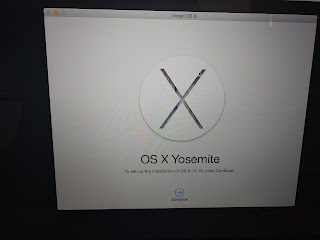
Now click on the Reinstall OS X and it will take you through the wizard to reinstall the OS. 
Click Continue

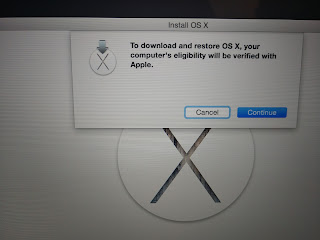
click Continue Again
Agree to the terms and conditions (does anyone read these)
Are you really sure you read them???
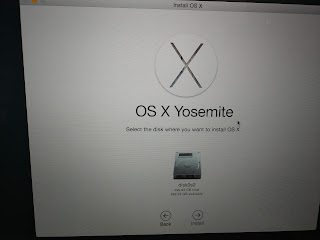
Hey look! there is a drive there now!!! Click on the image of the drive and then click Install.

I have worked in IT for more than 15 years, and I have seen all kinds imaging and deployment of operating systems but this was pretty cool.

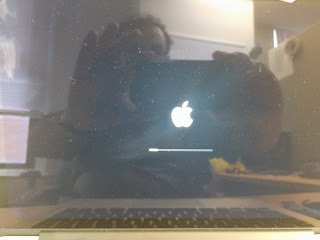
After you click install the laptop reboots with the Apple Loading Screen.

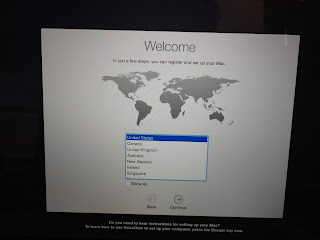
Then the OS actually gets installed, and after about 2 hours of downloading and installing we are back to the welcome screen as if it was fresh out of the box.

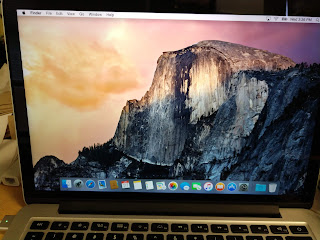
 Then after going through the setup wizard I am now back to the desktop.

I then reinstalled the Air Watch client which I will cover in a different post, connected it to my server, and it is now ready for action!

I hope you find this helpful. Please leave a comment if you do, I would love to hear from you. 

Exchange 2016 Back pressure issue

So my biggest challenge over the last few months is dealing with an Exchange 2016 server that keeps having issues with Back pressure. I have never heard of this as a thing before but I have been working on a resolution which has been very very time consuming. I hope to do a post about it soon to discuss it more once this is behind me.

Airwatch on Mac 002 – Bricking the Macbook

In my previous post I mentioned about how Airwatch destroyed the OSX volume on my test Macbook Pro. Just encase you were wondering what steps I took to do this with Airwatch I have decided to document the process for you here.

First, while logged into Airwatch you will need to find the device you are looking to wipe.

Click on the device name to be brought to the details window.

 Click on more in the upper right hand corner and go to wipe device.

 Enter a description of why you are wiping the device and click continue.

Then enter and unlock pin. This is used to unlock the device after wiping it (encase the device has been lost or stolen) and then enter your security pin to authorize the device wipe. Once the pin number has been entered the signal is sent to the Macbook and the wipe begins almost immediately.
I will be documenting and posting the Resurrection of this Macbook Pro in a later post.  

Airwatch on a Mac 001 – Savage just savage

So I have been working on installing and configuring VMWare Airwatch on a Macbook Pro running macOS High Sierra.

 In the process of configuring the profiles I ended up really messing up the GUI, and things did not look right.

 I have quite a bit of experience using AirWatch on mobile devices (phones and tablets) but I had never done it on a mac.

So I figured what the heck, let’s give it a go.

After messing things up I decided to test the device wiping feature which I figured would behave much like the phone.

 I was wrong, not only did it wipe the OS, but it corrupted the volume so I could not reinstall without deleting the volume.

 This was my first try at this so as I continue this further I will post updates but sheeh, that is rough.

Unable to import Infoblox 7 OVA into vSphere 6.5

The other day I was tasked with deploying a Infoblox OVA in our Lab environment. I was under the impression that this was going to be a simple task however I found out from my Coworkers that about 3 people had already tired to deploy it an all had failed. After spending WAY too much time on this task I eventually figured it out. Here are the steps I took to get this working in my lab.

First I started out by just trying to install the .OVA the normal way using the Deploy OVF Template Wizard hoping that my colleagues were just having permissions issues. Then I was greeted with this  screen below.

I then thought maybe something was wrong with the .OVA so I researched how to convert a .OVA to a .OVF and manually import it that way. It turns out all you need to use is use a product called 7zip and use it to extract the files from inside the .OVA.

Once you go into the new directory you just created you will see that the .OVA is made up of 3 files

I then tried to import those files and got the same result. Yay for consistency!!!

I then did some more reading and found that the issue may have been caused by a checksum error of the .ovf file so I found a PowerShell command that will tell me what the checksum of the .ovf file was

$(Get-FileHash .vmname.ovf -Algorithm SHA1 | Select -ExpandProperty Hash).ToLower()

You then take the value that Powershell kicks back and put it into the vmname.MF file. You can open this file with any text editor. You should take care when pasting the checksum hash value into the .MF file that you only use lower case letters.

After that was all done I tried to import the .OVF which means you have to include all 3 files. I still had the same result. Then I reread the error message and found that the .MF file was referencing a file that did not exist is the .OVA.

nios-7.3.17-358620-2017-07-14-00-21-09-160G-1410-xen.ovf

So I went back into the .MF file and deleted the value that was not needed and tried the import again.
This time I was met with a different message

Issues detected with selected template. Details: – 17:3:SECTION_RESTRICTION: Section Product Section (Information about the installed software) not allowed on envelope.

After banging my head against my desk and cursing out by boss for a while I went back to the Google to find out what this error message means. 
It turns out that this is in fact a know issue with Infoblox and they are planning on fixing it in version 8.2. However to get past this they recommend connecting directly to the virtual host and deploying it that way. You can read more about it on this blog that I found while searching for a fix.
So I connected directly to my virtual host and attempted to deploy it from there when I get this message
The host is currently being managed by the vCenter Server with IP Address xx.xx.xx.xx. Changes to this host during the session may not be reflected in the vSphere Client sessions currently viewing the vCenter Server.

I then discovered I would need to disconnect my ESXi host from vCenter to make this work. Fortunately I discovered that by connecting to my ESXi Host using SSH I could stop the services necessary for communication with vCenter.

So I connected to the host via SSH and ran the following commands
/etc/init.d/vpxa stop
/etc/init.d/hostd restart

I attempted to deploy it again and it was successful. I then ran /etc/init.d/vpxa start to set everything back to normal, did a few refreshes in vCenter and we were good to go. 

I hope this helps someone out there with the same issue. 

How to use IKEA TRADFRI with a Samsung Smartthings

So as you may or may not know one of my hobbies as of late has been Home Automation. My favorite platform is Home Assistant as it allows me to connect a whole plethora of products together and use them in a giant mesh throughout my house. 
I recently setup IKEA Tradfri bulbs in my Master Bedroom and the Daughters room and I was able to connect them into Home Assistant with mixed reviews. The integration with the IKEA Tradfri lights is already part of the standard build for Home Assistant, however I have to admit that it is not always reliable for me and I find myself using either the Tradfri app or the remote controls that I purchased for them. 
This weekend my Son asked if I could do the same for him so he could be cool like his sisters. So I went to IKEA and purchased a new Light bulb. Now one of the things that I have noticed from being a user of the system that no one mentions is that if you desire to use a remote for the lights, you will need to purchase one for each room your are setting up as there is no way to switch between light groups on the remote. So not only and I purchasing an $11 light bulb (because I am cheap) but I have to purchase a $20 Remote!!
I had done some research online and found that the IKEA Tradfri bulbs are actually using a form of ZigBee to communicate and that it might be possible to use it with a Samsung Smartthings Hub. 
So when I got home from IKEA I opened up my laptop and searched for a Guide and I found one listed below which I was able to follow with great ease considering I had already done a lot of this work when setting up the MQTT Bridge with Smartthings. 

https://smarterhomelife.com/everything/2017/8/11/pairing-ikea-tradfri-smart-lights-with-smartthings-how-to